We are going to explore how we can add Weblogic Application Server in Eclispe IDE. We are using:
- Oracle Weblogic Server Version 10.3.5 (Get it here: http://www.oracle.com/technetwork/middleware/weblogic/downloads/wls-main-097127.html)
- Eclipse Helios Version 3.6.2 (If you grab it from Oracle, then here it is: http://www.oracle.com/technetwork/developer-tools/eclipse/downloads/index.html . It is called Enterprise Pack for Eclipse. Our version here is oepe_11gR1PS4)
Ok. Let's Start.
- Start up your Eclipse IDE and switch to J2EE Perspective:
- By the bottom of the screen you will find the "Servers" tab. Click it.
- Right click in the blank space within the tab and choose new->server.
- In the dialog that pops up, expand the Oracle server type and choose Oracle Weblogic Server 11gR1 PatchSet 4. Hit Next.
- Chances are that when you hit next, the wizard looks for and finds the actual server in your system and populates it it the appropriate boxes. However if it does not, choose the browse button next the the field "Weblogic home" and choose your server.
- For java home, choose either jrockit, which comes with Weblogic and is tuned for production environments or you may choose any other JVM.
- Clicking next, you will find the following screen. Click the Browse button next to Domain directory field and choose your domain. To know more about how to create your domain, follow this link: http://simplifiedsoa.blogspot.com/2011/12/creating-weblogic-domain-and-starting.html .
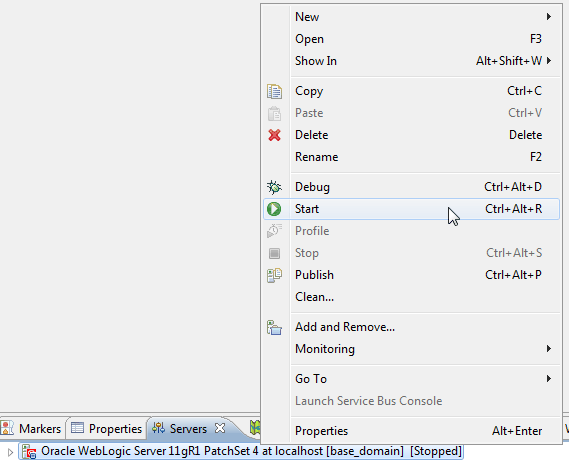
- Click next and finish in the subsequent screens and you are done with the configuration. To test it, you can right click on the newly added server and hit Start.


No comments:
Post a Comment